Figma Plugin
Design. Customize. Export Stunning Gradients.
 Get Started
Watch Tutorial
Get Started
Watch Tutorial
Step 1
Install the ChromaFlow Plugin in Figma
Get ChromaFlow running inside Figma in under thirty seconds. The plugin is published on the Figma Community and works with Figma Desktop (v124+) and Figma Web.
Open the Community Browser
From your Figma canvas, click the Resources icon in the top toolbar, then select Plugins. In the search bar, type "ChromaFlow" and press Enter.
Run the Plugin
Click the ChromaFlow card published by ChromaFlow Labs, then hit Install. Once installed, launch it from your Plugins menu — the panel will dock on the right side of your canvas.
Link Your Account
Sign in with your ChromaFlow account or create one for free. Your gradient library, color stops, and saved palettes will sync automatically across the plugin and the web app.
Step 2
Sync Gradients & Apply to Layers
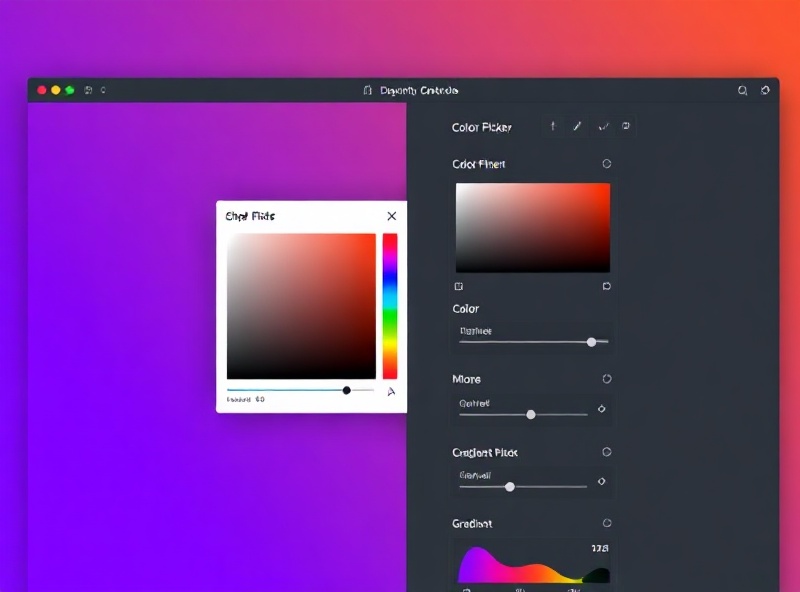
Once installed, ChromaFlow becomes a live gradient engine inside Figma. Browse your saved gradients, tweak stops in real time, and paint them onto any layer with a single click.
Browse & Preview
The plugin panel lists your gradient collections — "Brand," "UI Accents," "Sunset Palette" — with live previews. Hover to see hex values, angle, and stop positions at a glance.
Customize on the Fly
Use the inline editor to adjust gradient angle (0°–360°), add or remove stops, and shift opacity. Changes preview instantly on the selected layer without leaving Figma.
One-Click Apply
Select a frame, text layer, or shape and click Apply. ChromaFlow writes the gradient fill directly into Figma's fill stack, preserving existing strokes and effects.
Sync Across Projects
Any gradient you save or edit in the plugin syncs to your ChromaFlow cloud library. Open another Figma file, launch the plugin, and your full palette is there — no re-importing needed.
Export to CSS, SVG & AI
Click the Export dropdown to copy CSS `linear-gradient()` code, generate an SVG snippet, or push the gradient as an AI fill to Adobe Illustrator via the ChromaFlow bridge.
Team Libraries
Designers on the same ChromaFlow team share gradient libraries automatically. Update a brand gradient once and every team member's plugin reflects the change within seconds.
Step 3
Watch the Full Walkthrough
See ChromaFlow in action. This eight-minute tutorial covers installation, gradient customization, layer application, and syncing between Figma and the ChromaFlow web dashboard.
0:00 — Introduction
Overview of the ChromaFlow plugin, what it does, and who it's built for — product designers, brand teams, and creative developers.
1:45 — Installing & Signing In
Step-by-step install from the Figma Community, linking your account, and verifying your gradient library appears in the panel.
3:20 — Customizing a Gradient
Editing stops, adjusting the angle slider, toggling color modes, and previewing changes on a selected component instance.
5:10 — Applying & Exporting
Painting gradients onto frames and text layers, copying CSS output, and exporting SVG gradients for handoff.
6:50 — Syncing & Team Libraries
How saved gradients propagate across files and team members, plus managing shared collections from the ChromaFlow dashboard.
Prefer to read along? Follow the installation and usage steps above, or reach out to our support team at support@chromaflow.design for help.
Start Installing